One of my first goals as a new retiree is to work on the knitting room and make it into a studio where I will really enjoy working. It was probably in the worst possible condition after last year. I was overwhelmed at work, helping hire and train a new person, while very busy. I also traveled and taught five seminars. It was a wonderful year, but I didn't even unpack right away after some of the trips, and plenty of times, I just tossed bags and boxes into the knitting room.
 I've been working on it diligently every day, and progress is happening! I still have a big list of things to do, but here's what I've done so far.
For starters, I put together some wire cubbies for yarn. These things are simply banged together using plastic connectors and a rubber-tipped hammer. They're about one foot square, and I put them up along most of the longest wall in the room. I started with 10 units long by 5 units tall, but John looked at it and suggested I go one unit higher, so now I have a 10x6 array.

I put bulky yarn in the left end of the rack, then mid-gauge yarn in the middle, and standard gauge yarn is on the right end. I am embarrassed to say that this isn't all of my yarn. There are also two cone trees in my bedroom and some boxes downstairs. Friends have generously given me yarn, and yarn has been included with machines I purchased. It's time to do another yarn destash. I went through a period where I gave away ridiculous amounts of yarn. It even sold it for $1 a cone at a garage sale, and a customer told me I was crazy to sell it that cheap. Well, my friends didn't want any more yarn, my house was groaning with it, and it had to go!
It took me a while to learn that I don't love collecting yarn and machines. It's knitting, designing knits, and teaching that gives me joy.
One task I didn't realize would be fun was putting yarn and tools into the rack. I had forgotten some of the yarn I had. Having pretty stuff on shelves at eye level makes me want to knit - big time!
I had read about a financial challenge a while back that suggested one buy nothing in January. Give the credit card a post-holiday rest and "shop" in your home, said the article. I wasn't doing it deliberately, but this project had me shopping in my own home, and there were some great finds.
Most of the rest of these photos are things that have been in the room for ages; it's my attempt to organize the miscellany that comes with a passion for machine knitting. Since I like to see how things can be stored, maybe you'll pick up an idea or two from my storage.


Starting at the door and going clockwise around the room, and with all the machines uncovered so you can see how I work, here's some my functional but messy room. On the back of the door I have a clear shoe bag. I've had this for ages and find it works great for keeping and being able to quickly find small KM items.
After you walk in, there's a small closet with bi-fold doors, and in front of that there's a little wooden stand with my electric cone winder and my jumbo yarn winder. These need to be out all the time. I very seldom use a small winder anymore! I don't believe in knitting without rewinding the yarn. There's a trash can right there, between the winders and the mid-gauge Studio 860. It's so handy to have a trash can by each machine.

 This is my Studio 860, which is electronic mid-gauge. There are cups and trays of tools next to it, and on the floor under the winders is a cardboard box filled with more mid-gauge tools. The machines set up in this room are my workhorses. Sometimes I teach on other machines, and those machines are put away elsewhere.
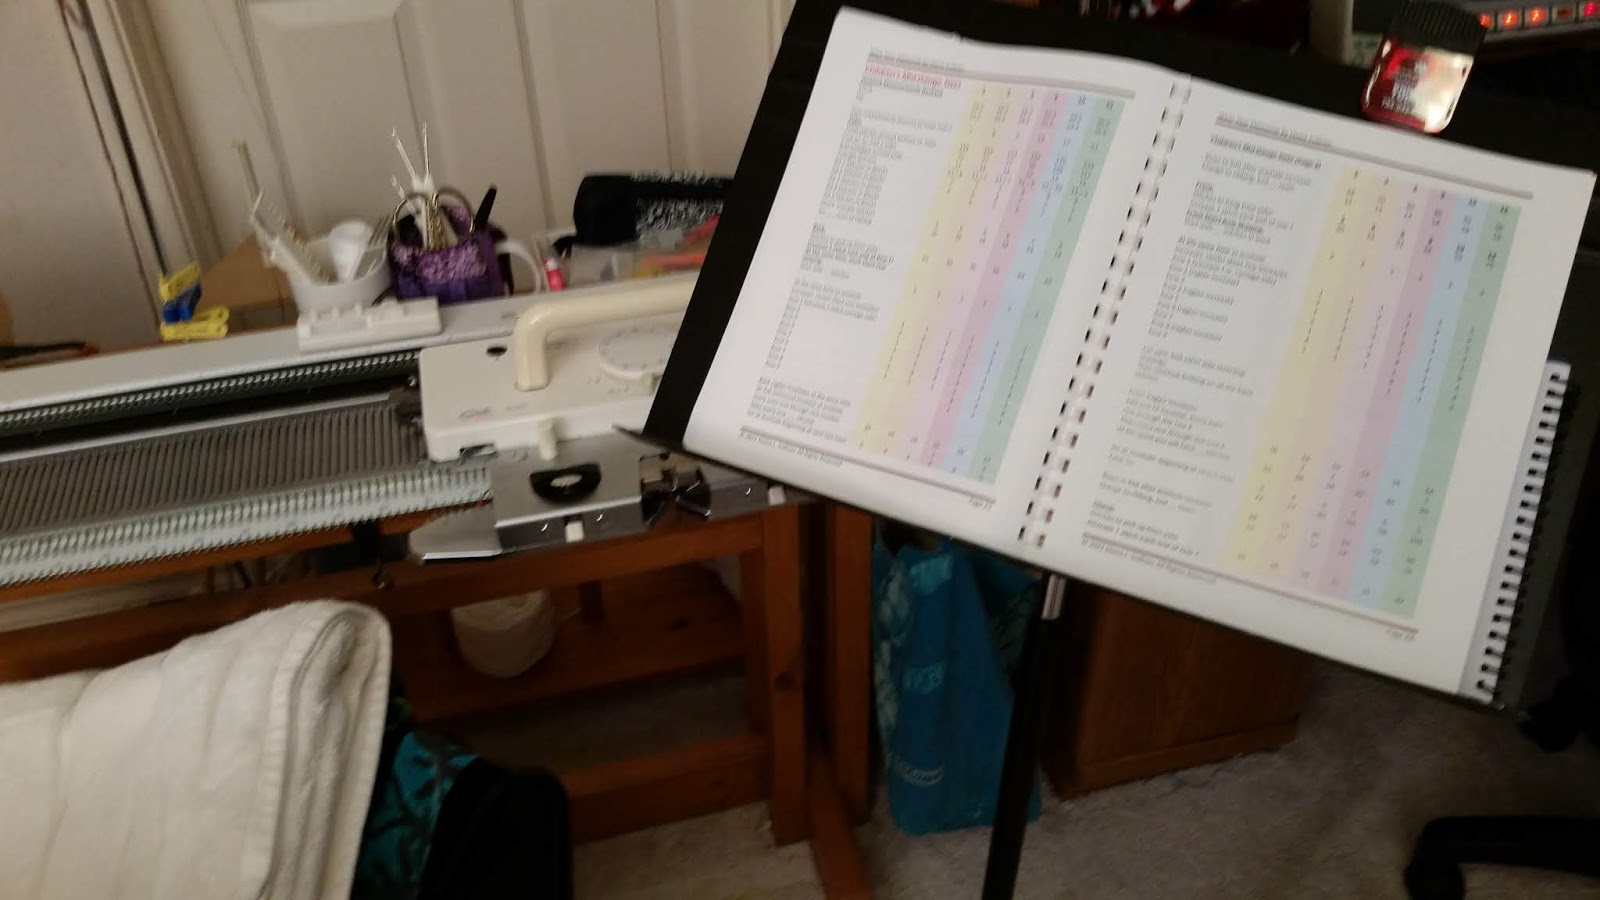
To the right of the mid-gauge is a sturdy music stand. I've tried different ways of keeping the current pattern and notes handy, for instance, clipping them to the yarn mast, but this works best for me. A music stand is one more thing cluttering the room, but it has lots of room. In addition to my pattern, I have a spiral notebook, a pen, and another pattern or two I'm thinking about working up.
If I'm working and get an idea or think of a task I don't want to forget, I'll write it down right away with that handy paper and pen.
 I have a desk in the corner of the room. This was my 35-year-old son's desk way back in high school. Although it's old and battered, it is very functional for my needs. It holds my desktop computer and has lots of cubbies to stash things. It also has a pull-out on the right side that provides extra surface area when I have a desk project. I use this area to edit video, do bookkeeping, figure out patterns, and keep oddball things like DAK cables or my camera bag handy.
This is a special computer, configured for editing video, and I am very grateful for it, because it saves me hours of time on each video project. I needed a special video card and lots of memory (we went with 36 GB) to handle high-definition video files. I'm thrifty, but my husband has tried to teach me how important it is to have the right tool for the job. This is a great example of how much having the right tool pays off. It's due for a tune-up, a new hard drive and some software installation.
I have two rolling office chairs I move around the room. I prefer the adjustable office chairs, because they're padded and I'll move them up and down just to change my body position as I work.
 Next, on the west wall, in front of the window, is my bulky machine (Brother 270) that you see so often in videos. The day I took the photo was rainy and gray, but this bay window on the second floor looks out on the front lawn. I enjoy having it open for the extra light. It's not good for the machines to be exposed to sunlight, or dust. I have colorful beach towels to keep them covered, but these pix are with everybody naked.
 This 270 is the machine I usually go to first if I'm playing around with swatches, trying out ideas and solving problems. I purchased three sets of these cheap plastic drawers about 20 year ago, and they're still just fine. This one is on wheels and filled with bulky tools. I have ribber covers in place all the time unless I'm using the ribber. I will also remove the ribber entirely if my project is on the main bed and I need better access. This one's on a tilt stand, so I can easily go from main bed work to ribber work and back again.
 And, here's the standard gauge machine, a Brother 965i. It is mounted on a Brother motor drive. I currently have an old color changer on it, because I was doing some Brioche ribbing. I have wires and extension cords in a pile on the floor. When we have lightning storms, I always crawl under here and unplug the power strip, which is used for this machine, the camera, the light, and the motor. Almost everything in the room is on three power strips, which facilitates unplugging at the very first rumble.
With the extension cords, I can easily move the camera and work light all over the room. The plastic drawers are filled with standard gauge tools and weights, and then on top is a carrying tote overflowing with ribber items.
 Here's the far right side of the room, with new yarn cubbies in the background and an oddball item in the foreground. This is the light I use when I'm filming. We discovered that the more light I have, the clearer I can get the video focus. My husband gave me this garage work light stand. It used to hold an incredibly bright halogen light, which was hot and an energy pig. I'd get cooked working in here. Despite the heat, I became utterly sold on having lots of light in the room as I knit. When the LED work lights became common, we put one of those here instead. It's just as bright and not as hot. In addition to the ceiling light fixture, there's a halogen floor lamp by the Passap and a clip-on desk lamp.
  That's it for the north wall, and turning to the east wall, which is a short wall, I have my beloved Passap E6000. In the corner left of the E6 is a large capped PVC pipe, which holds all my sponge bars, both new and worn out. I prefer to purchase new sponge bars, but sometimes you need a size that you can't find, and you can put new foam rubber into an old sponge bar frame.
There's also a cardboard box, which is filled with ribber combs. I really don't have a smart way to store ribber combs. I tried hanging them Command brand hooks, but they're a bit heavy for the hooks and tend to hit the floor. Also, the combs are also unbalanced and hang crookedly if you use the weight holes. I suppose the solution would be to drill a hole in a spot that balances, polish the hole's rough edges, and then pound nails in the wall, but I hate to drill a new hole in any of my combs. Anybody got a great idea for storing ribber combs?


.tif)

No comments:
Post a Comment